You can make a good OldGuitar even from a simple Levin parlor from 1949 with a floating bridge. The only thing that is required is that you convert it to a permanent bridge. There isn't much more to gain in sound quality if you keep the floating bridge and the tailpiece. I've tried several times to keep the floating bridge because they're cool, but only managed to get it marginally better than the original.
One disadvantage of converting from floating bridge is that the shadow of the tailpiece always leaves an impression in the paint on the top. But other than that, and the fact that the top has no stringpin holes or wounds from a reglued bridge, there is no difference in the renovation work. In general, you can perhaps say that the best pieces of wood were not used for the floating bridge guitars. They were cheap for a reason. In any case, this particular one had beautiful flaming birch on the bottom and sides, with flames only on half of the bottom.
It was in good condition and unusually without cracks. Since it was a newer Levin parlor, it had a flat head and the cellulose lacquer of the time. The paint had a slightly more tart orange color than usual, which my camera didn't like. Some of the pictures are flashier in color than the guitar in reality. It also had black celluloid bindings around both the top and bottom. After installing the carbon fiber rod in the neck, thinning the bottom and top and gluing the braces, the situation was as in the pictures. No repairs, except where the joint between the bottom halves had loosened in a few places.


It had been repaired before, unknown what the fault was. On a large note glued on the bottom it was written: "The guitar repaired by Bror Harisson Astrome(?) Vessinge bro". The word with question mark was difficult to read and difficult to interpret.
There is not much to say about the renovation in general. Lid and bottom were thinned out, the lid was about 4 mm thick. A pyramid bridge and a new rosewood fingerboard were made. One detail that is different is that the stable must be measured in the right place and the varnish scraped off before gluing. The wound from the glued floating stall is a good indication of where the stall should sit. Wanting to make it easy for beginners, Levin glued the stand that should actually be adjustable, one of the few benefits of a floating stand.
It also had a K&K mic fitted before gluing the bottom.


Neck and fretboard were glued and fretted with gold colored EVO frets, my new standard. The binding around the bottom was replaced with a new one in black ABS plastic.


To hide open wounds in the paint around the bottom binding, the edge of the fretboard against the neck and other places that need some matching paint, I've been buying up all of Herdin's water based stains and as many spirit stain powders as I can get my hands on. I have all the stain powders in plastic jars in a wooden box. I've also made small spruce sticks where you can see how all the stains look, my fingers were in all the colors of the rainbow when I was done with that job!


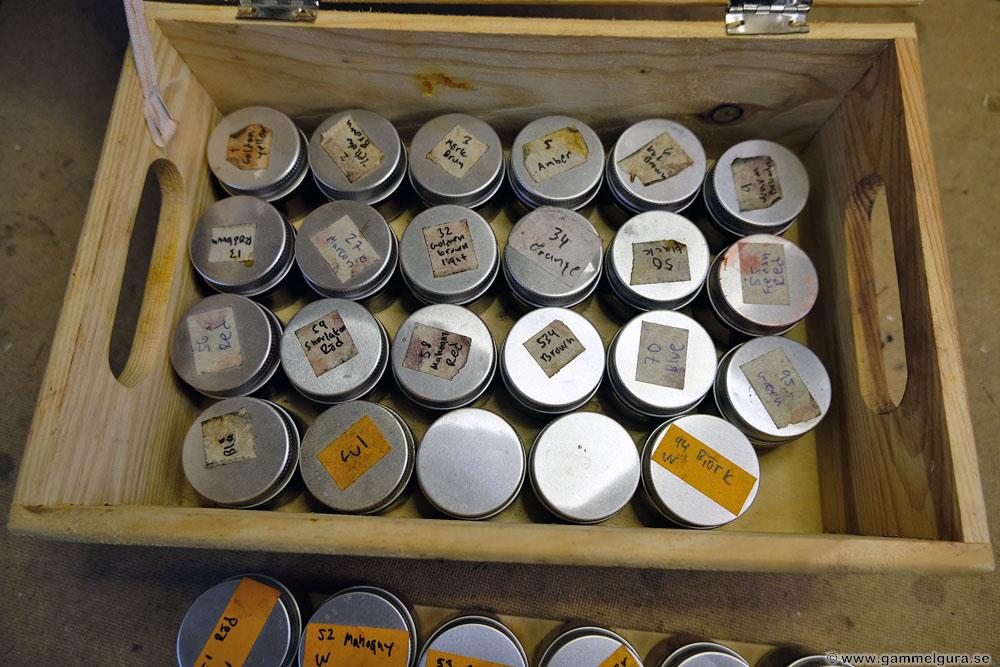


That box came in handy for this guitar with a slightly different color. Using the sticks, I was able to find a matching color. Otherwise, it is always Herdin's "Carl Johan Brun" that matches the color of an old Levin parlor.
After staining where needed, it was time to put on a coat of spirit varnish after the original varnish had been dulled down with steel wool and vacuumed and dried clean. I use a U-shaped ferrule through the sound hole as a handle. My synthetic fine hair lacquer brush is large and round, it has lasted for almost 10 years. The glossy lacquer is then matted down with steel wool (Trollull 000) and hand-polished with a dry cloth to a suitable gloss. The spirit varnish should dry for about a week before it can be hand-polished in a good way to a semi-gloss, before then the varnish is a little too soft to retain the luster.


The intonation was measured, nut and a segmented saddle were manufactured and adjusted. New tuning screws were fitted. Since the flat heads on later Levin's have modern distances (American measurements) between the posts, it was just a matter of screwing it on.


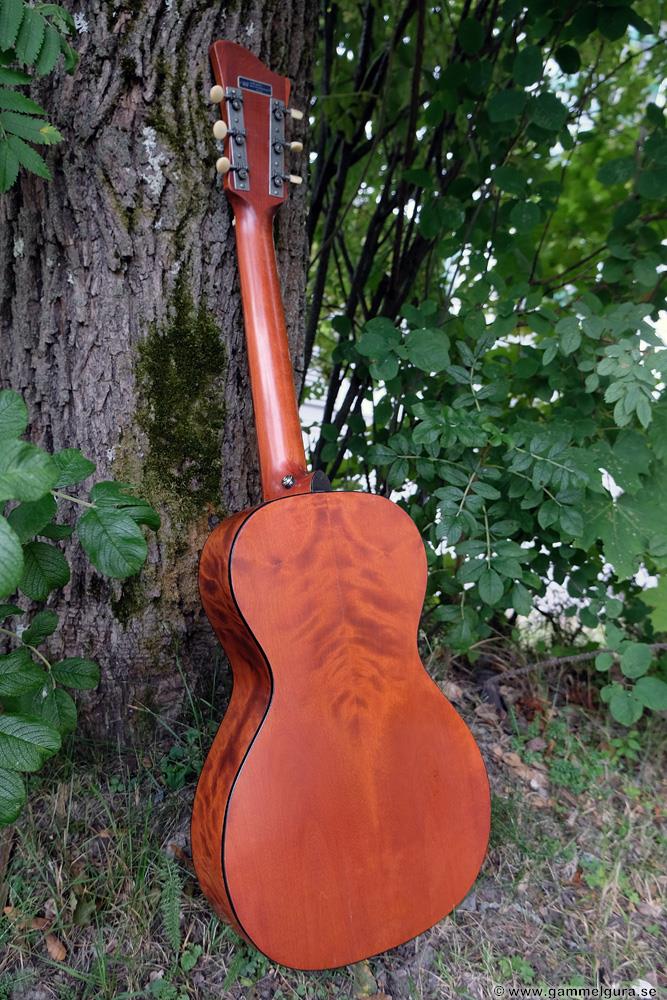
I took the finished guitar out for photography, but the color of the bottom, side and neck of the guitar didn't like the camera! I've tried color correcting, but the pictures taken indoors were probably more accurate in terms of the color.
Even though it was a simple and newer Levin, it sounded like a OldGuitar should. Possibly, the tone was a little rawer than usual, but you can only hear that if you can make a direct comparison. The difference was not great. A Gator 3/4 case fits well with all Levin parlors.