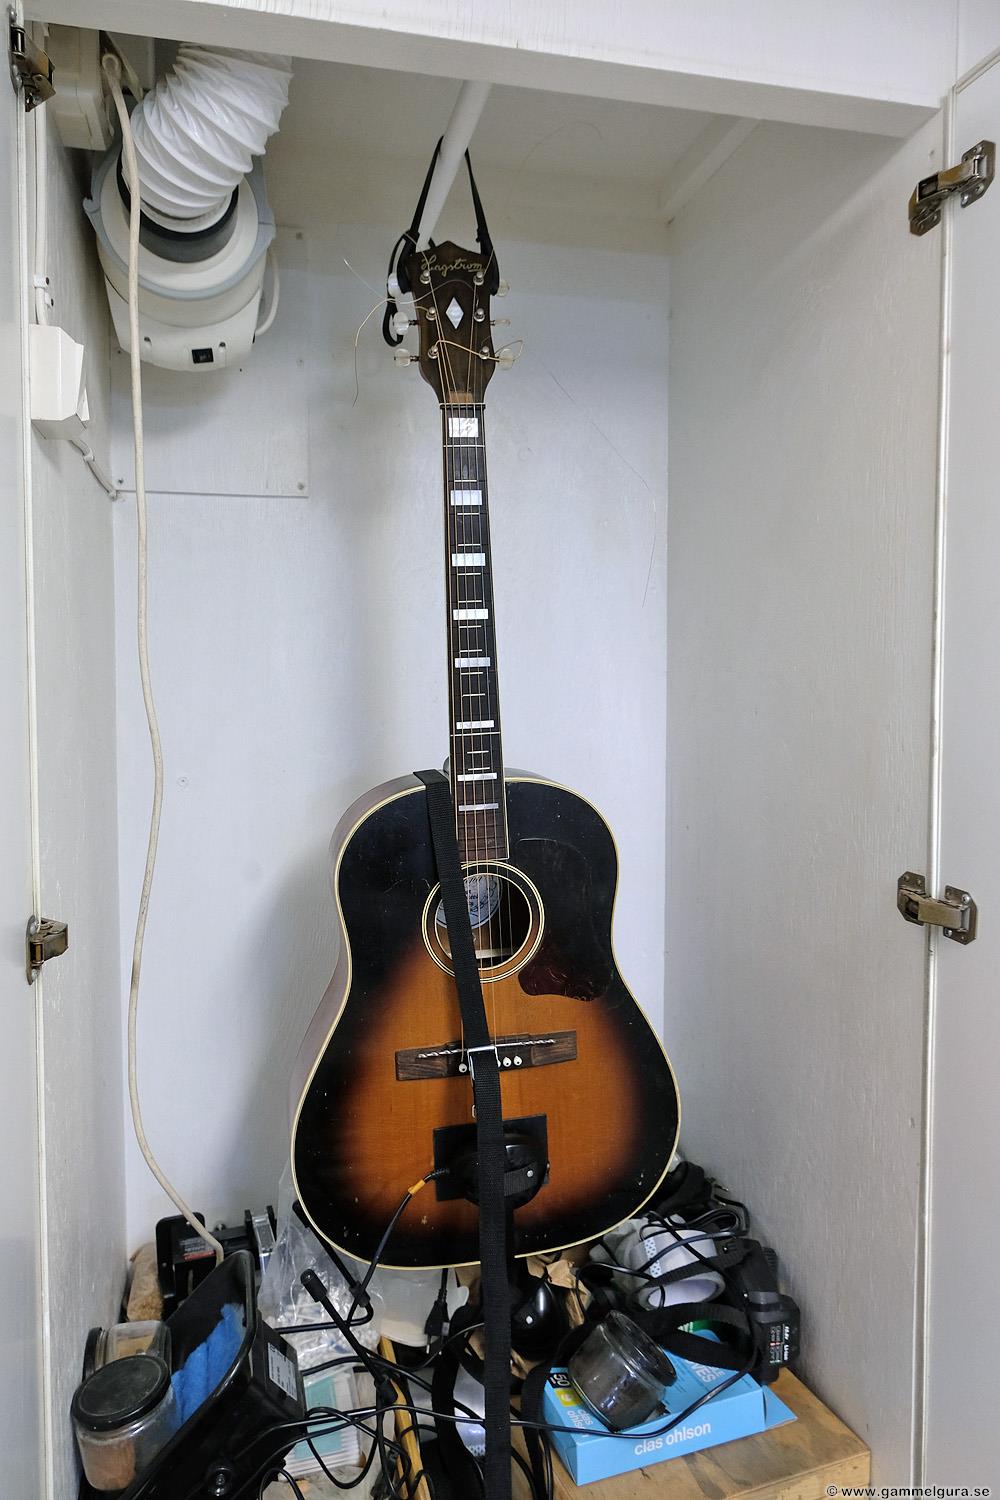
Sometimes you get different objects for a GammelGura, this time a modern and full-size Hagström from 1964, made by Bjärton and exported to Canada, then imported back to Sweden. Unlike similar Bjärtons with screwed necks, tail piece and a floating adjustable bridge (what monsters they are!), this one had a very nice fixed bridge and a standard dovetail neck attachment. So much better. It was worn, but largely complete.
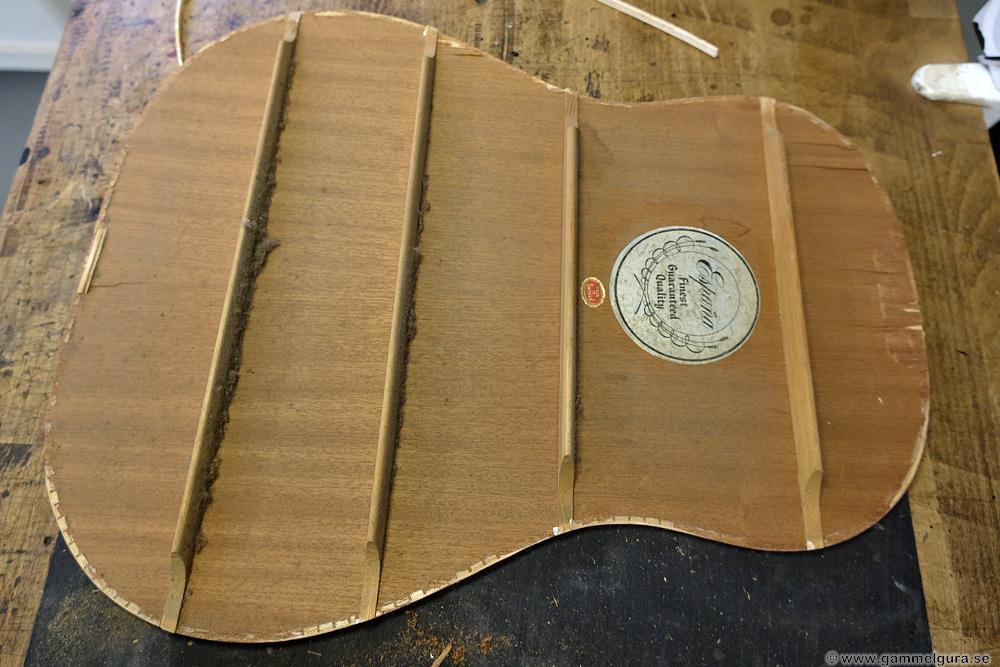
The tuners were in good condition, the fingerboard well played and worn, the neck needed resetting and the pick guard needed regluing. The frets were low and worn, and the celluloid inlays in the fingerboard had shrunk and were about to come off. The cover washer for the truss rod was missing, I later discovered that the truss rod was broken, or at least not working. The top of these is in solid spruce, while the sides and bottom are in three layers of plywood with mahogany in the outermost layers. There were no cracks in either the top, bottom or sides.


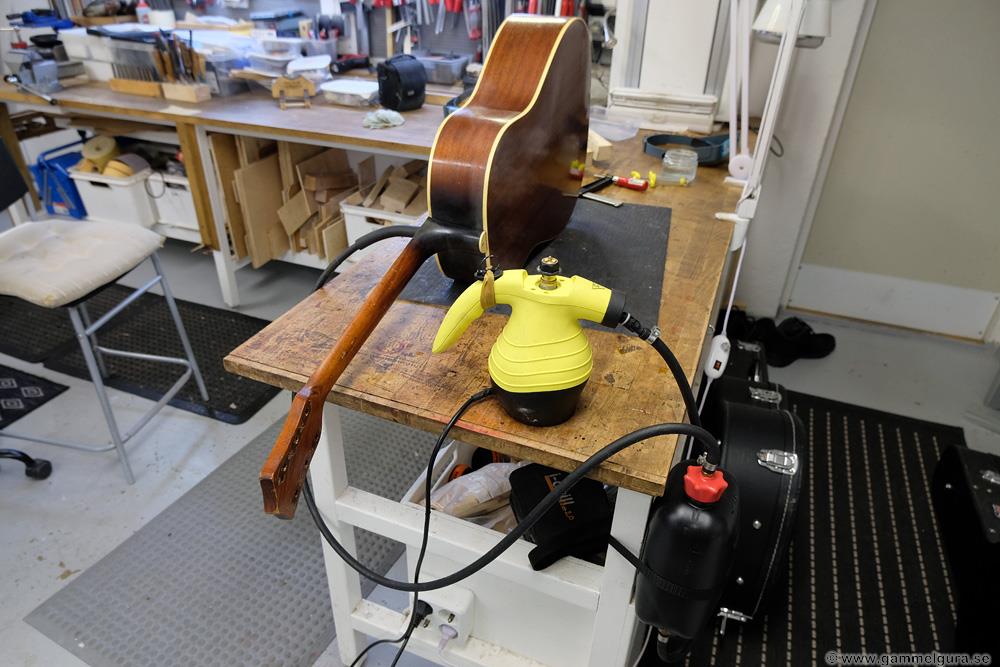


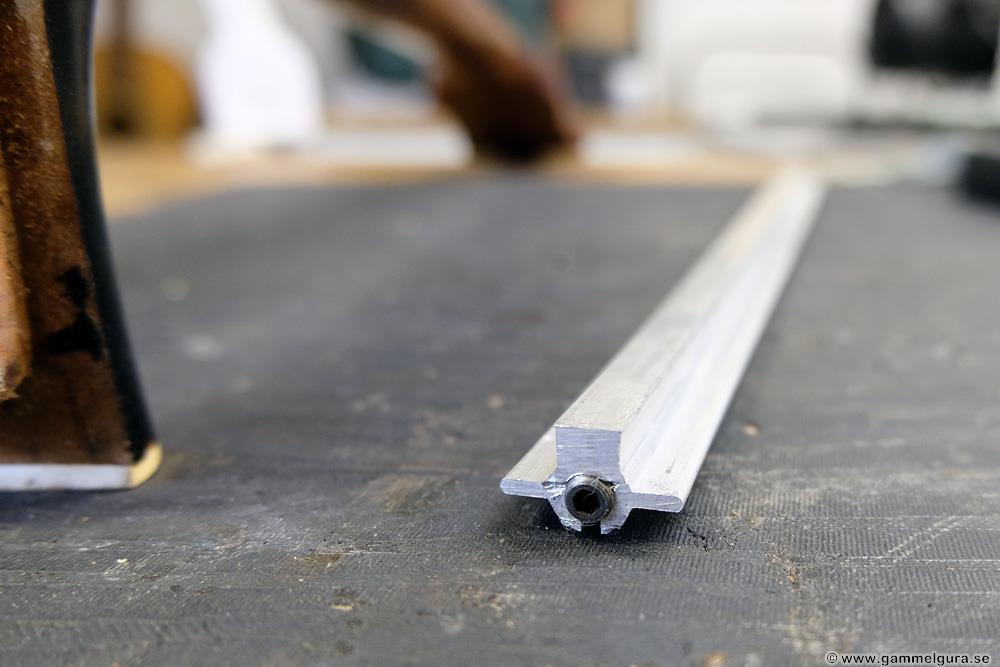
The neck and fingerboard were easy to get loose as they were glued with hot hide glue. The fretboard was heated with small Braun travel irons and the saddle with my heat lamp. The neck was steamed loose. The truss rod was very special, and it looked like it would be difficult to pull loose. But it was easy to knock out as it was not glued. The wings of the special profile in the neck first had to be filled in with a thin strip of rosewood. Next, I milled the channel as usual for a hollow carbon rod to replace the truss rod. This time the hole in the carbon rod was filled with a solid round 8mm carbon rod for some extra stiffness.


The celluloid bottom binding could not be saved when the bottom came off, also, the thin binding on the edge of the fingerboard was broken. A problem with plywood when the bottom is to be removed is that you cannot avoid following a wrong glue joint. Although I was careful with the knife, there was some loss of the inner mahogany layer around the edge of the bottom and the white center layer came through. Before gluing the bottom back on, I spliced in small pieces of mahogany veneer where it was missing.
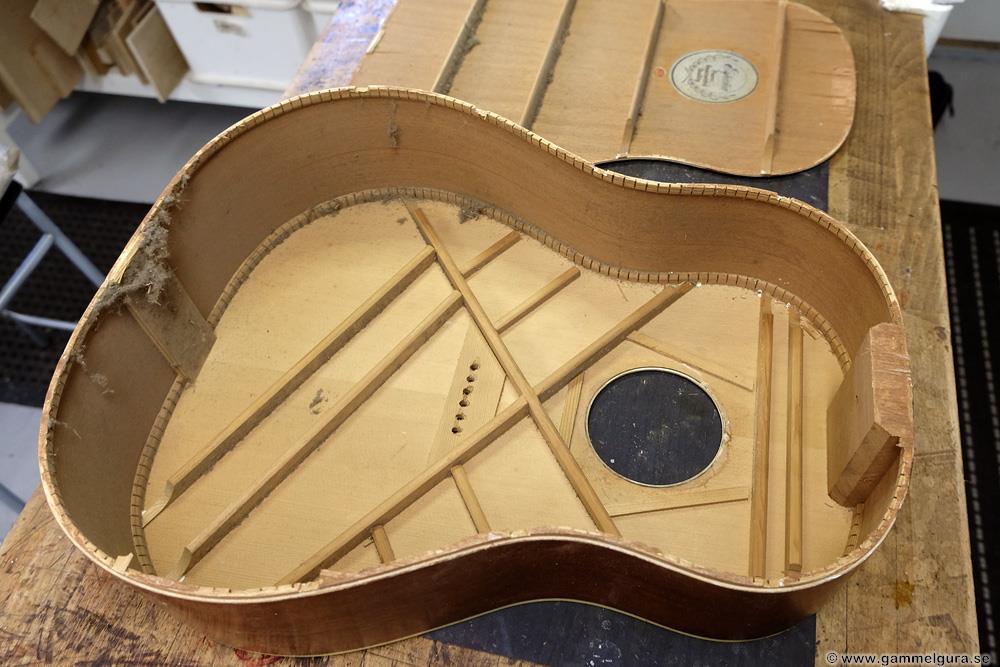
With the bottom off, I could see that the bracing in the top followed a standard Martin. The detail work in the top's braces wasn't the best, but the cross itself was done right. The braces were quickly made in the factory with the same shape and a very abrupt tapering of the ends. Interestingly enough, the bridge plate was made of spruce, which I like, however reinforcements had not been put in around the stringpin holes where the balls ends had worn the bridge plate. The neck block was solid, while the end block was far too flimsy, as if made to break if you drop the guitar on the end knob.

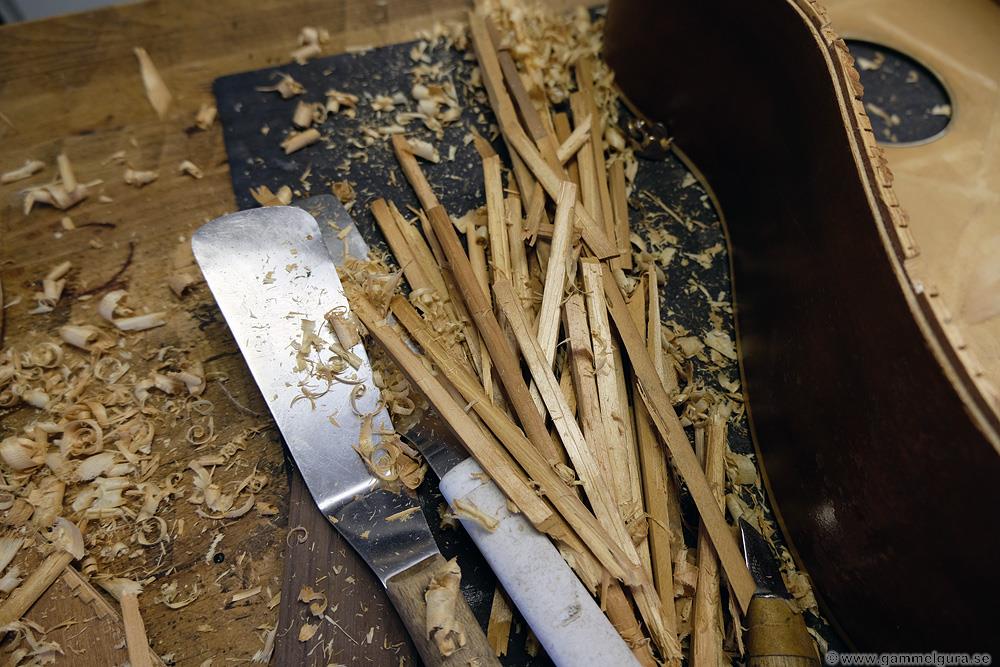
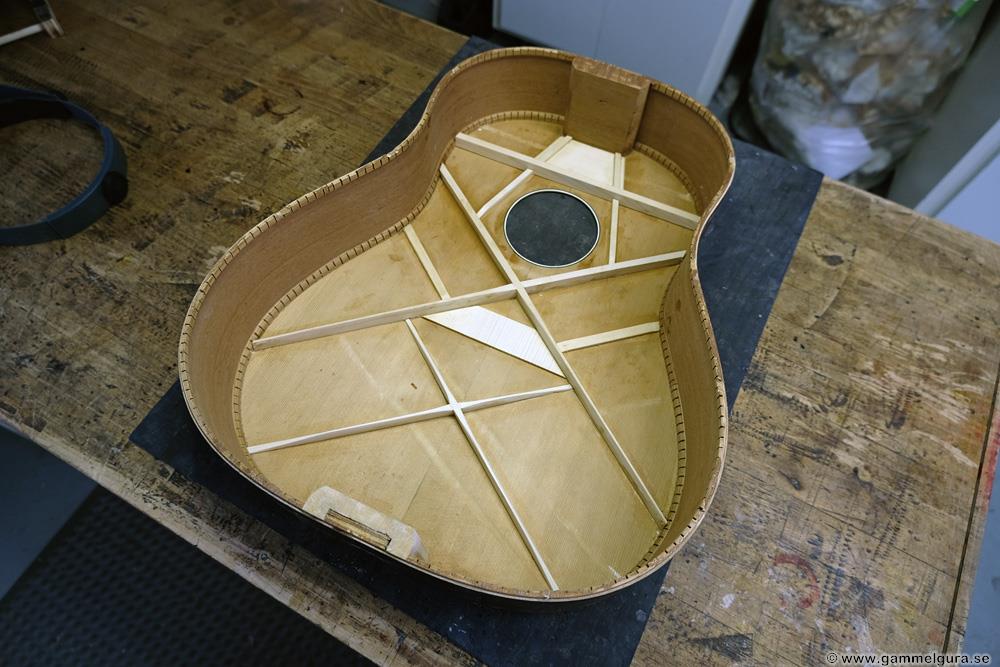
The braces in the top were glued with modern glue, to get them loose without damaging the top, I used chisels, knives and a sharp plane. The endblock was reinforced with a thicker spruce block. The bracing pattern became a double X, which I think is a very good solution that got an undeserved bad reputation after Gibson made those with far too thick braces and a huge rosewood saddle plate...


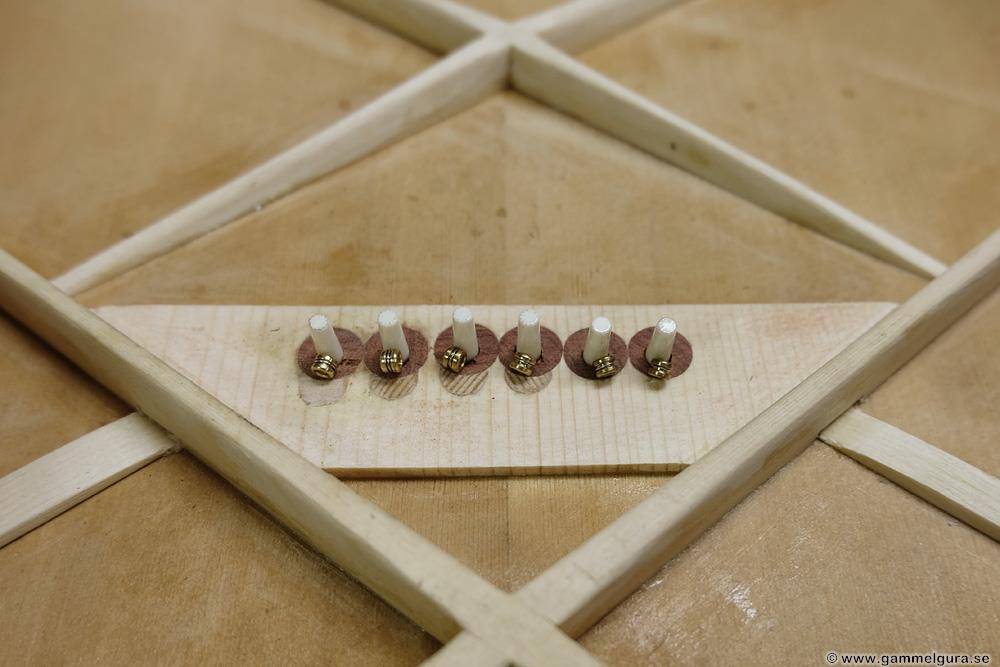


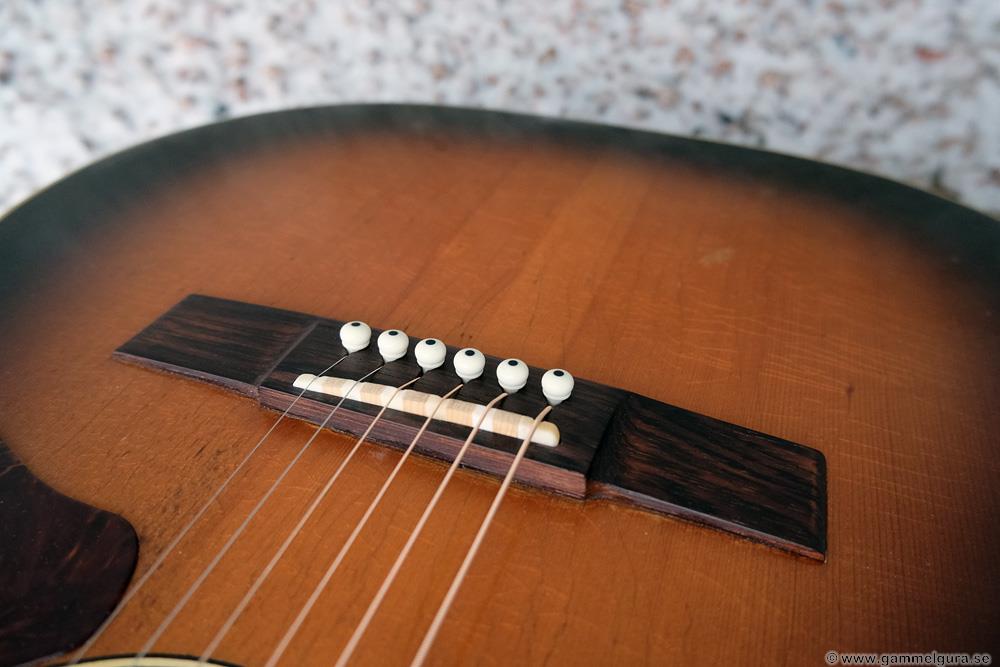
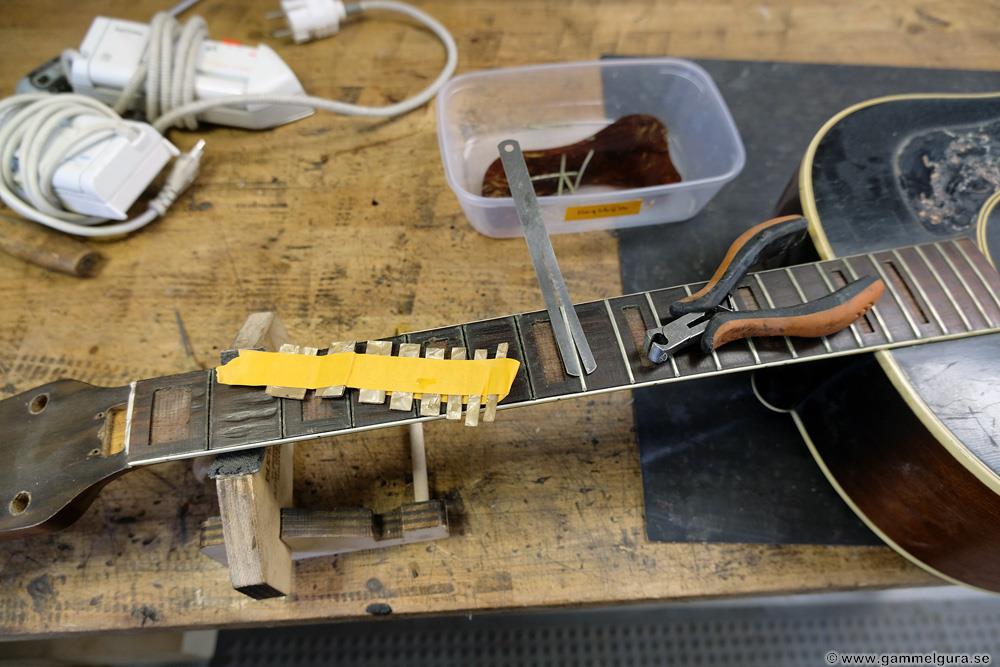
Plugs through the bridge plate and top as well as reinforcements around the stringpin holes were installed. The slot for the saddle in the bridge was filled in, and the bridge was glued in place. Before gluing the bottom, a groove was ground for the string in each stringpin hole, I use some cut up old strings and a needle file rasp to make the groove tight but deep enough for each string. The old frets and celluloid inlays were loosened. The fretboard was sanded to a 16″ radius and genuine mother-of-pearl replaced the shrunken plastic inlays. Fingerboard and bridge were made of the finest rosewood, which smelled very good when sanding.

With a specially made caul, the scrathpad could be glued using a water-based plastic glue, Casco Universal Aqua.


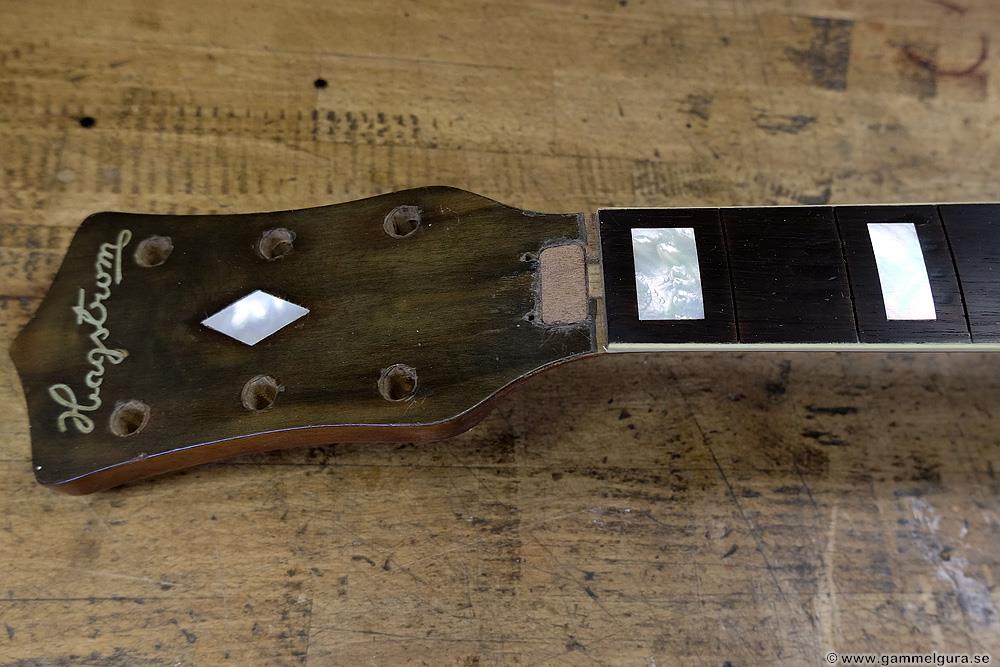
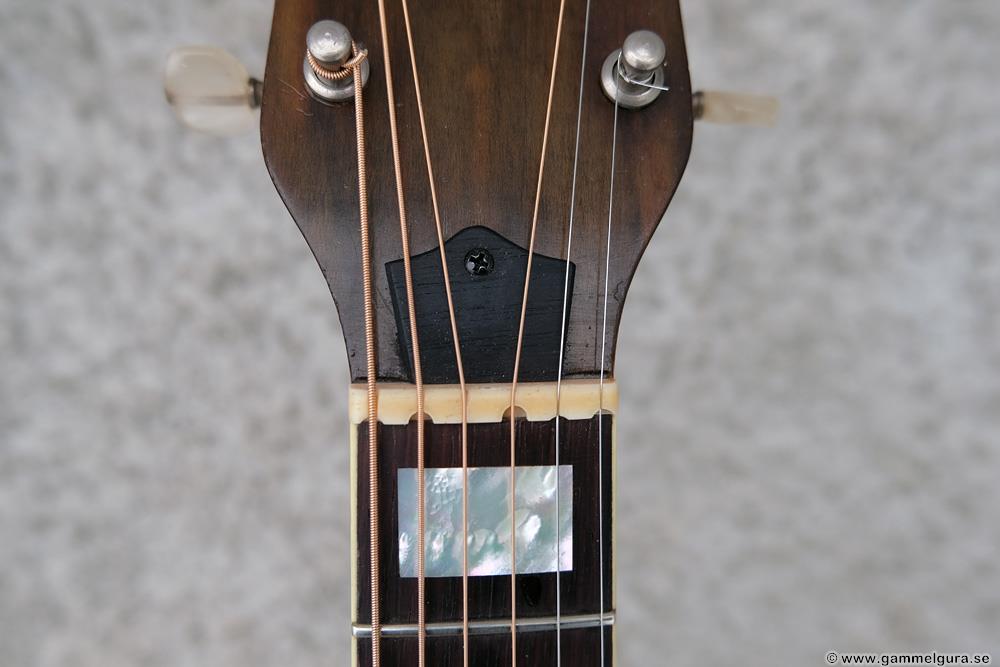
The top mother-of-pearl inlay in the fretboard was very beautiful!


When I was going to mill for a new bottom binding in ABS plastic around the bottom, I failed to tighten the mill properly and the trench became 2 mm too deep... luckily it was the same depth all around. To save the whole thing, I glued in a 2 mm high rosewood strip at the bottom of the trench. It actually turned out really nice!

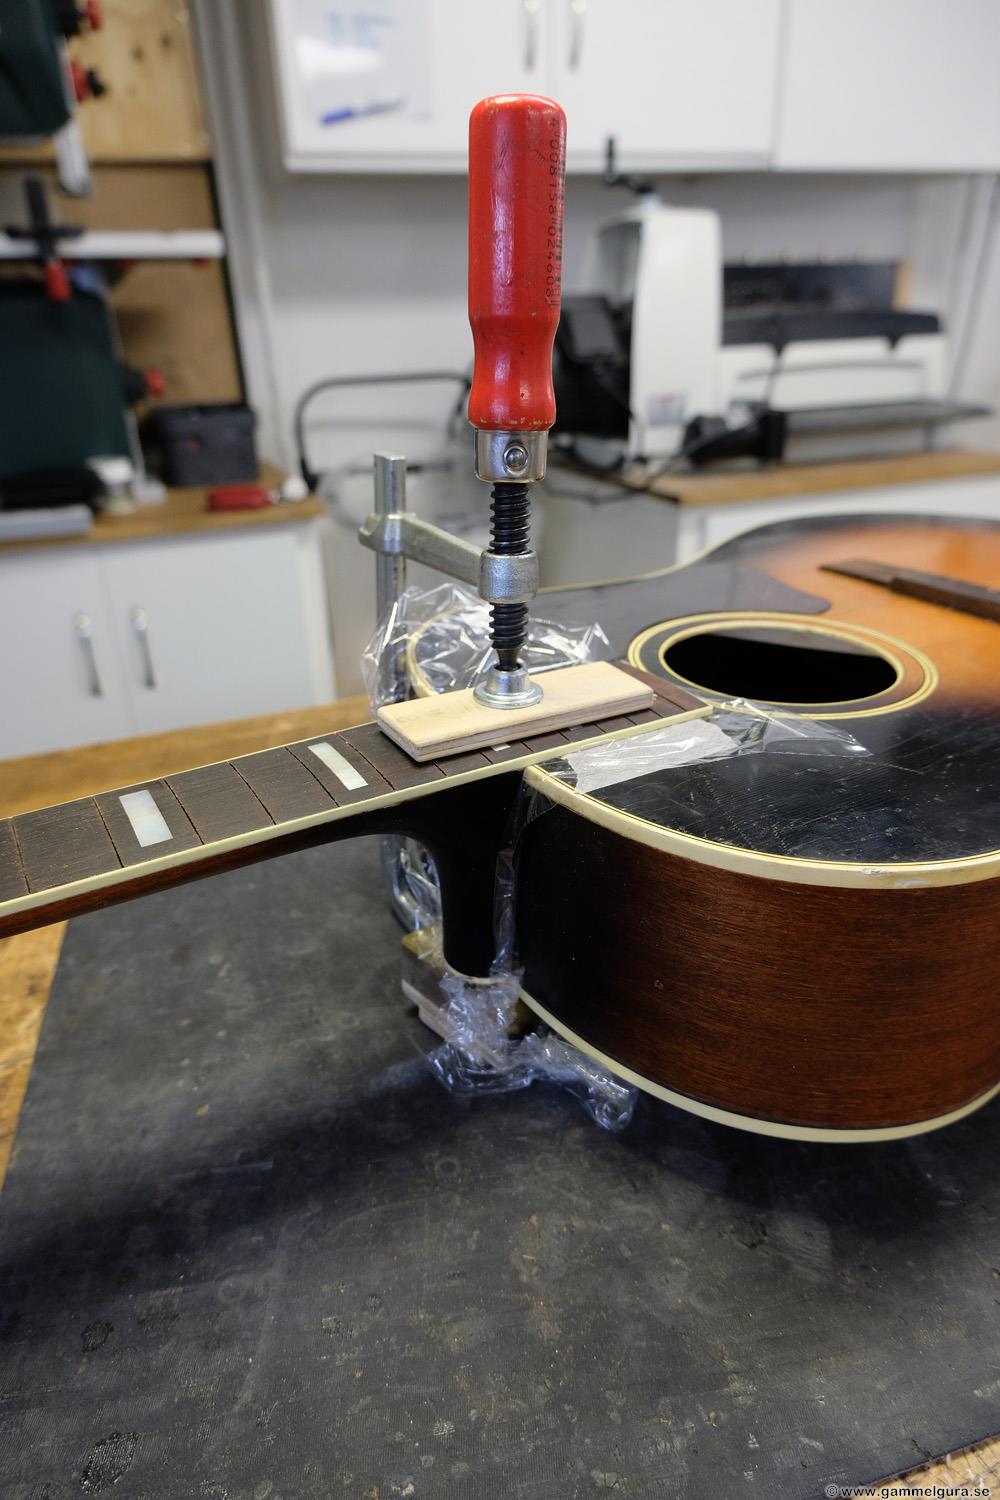
A work step that is both important and time-consuming is to file the wings on the base of the neck so that the neck gets the right angle to the saddle. This one needed a lot of work, and then you have to glue shims into the sides of the neck pocket to tighten the dovetail. I use superglue for the shims and use the neck as a caul. In order not to glue the neck to the shims and the superglue, it is easy to put a piece of household plastic in between. It works every time, as long as you are careful when you press down on the neck so that the plastic does not break.

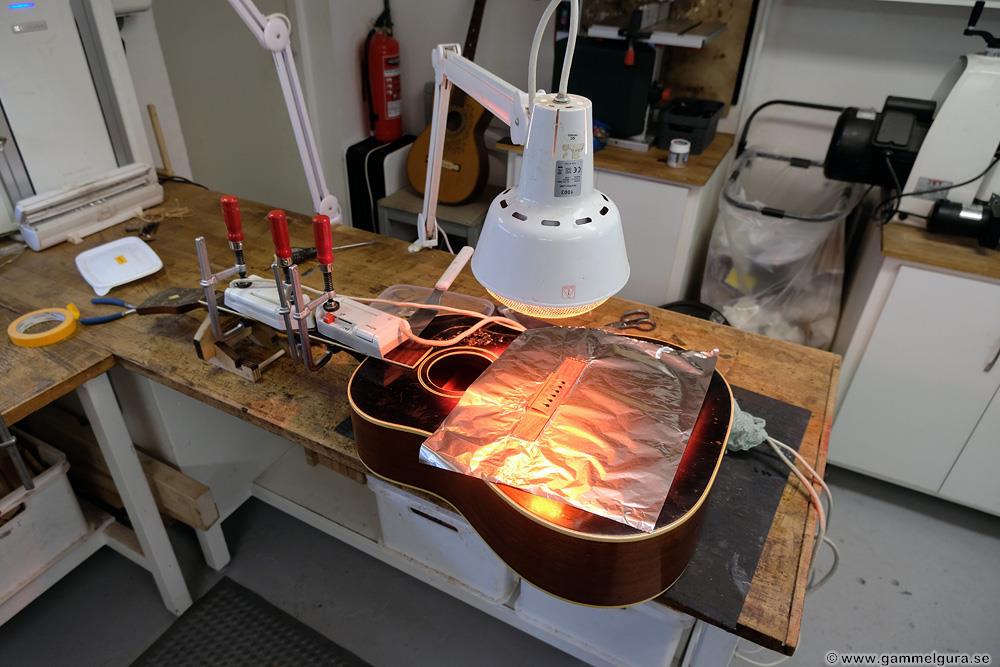
The neck was glued in my neck jig and the guitar was vibrated over a weekend.
The pit where the old truss rod was adjusted was filled back with mahogany, and a nice cover plate (with the same shape as the top of the headstock) was made from ebony. Standard nickel frets were mounted and crowned. The guitar was measured up for a nut&saddle intonation, a new nut was made, a segmented saddle made, and the bridge saddle ditch milled in the right spot. The entire guitar was given a coat of spirit varnish on top of the old worn varnish, the varnish was dulled down with 000 steel wool and hand polished to shine with a dry cloth. On this one, it felt just right with white Gallalith solid string pins. The guitar strap knob was moved from the tip of the neck foot to the side of the neck foot.
It was a very nice player. A little big, of course, but it certainly sounds like a GammelGura despite the plywood in the sides and bottom 🙂